Complete Installation Guide of An Electric Hand Dryer
Video guide: Installing a Bathroom Electric Hand Dryer
Every piece of clothing you have is made from fabrics that require extra care. Have you ever purchased the garment you’ve been looking for, wore it, and carelessly tossed it in a washer with your other used clothes? You probably agree that most people unintentionally just skim through the confusing clothes tags and wash different fabrics together.
All fabrics require different care. All garments have a few specific ways of washing, drying, and ironing to prolong the life of the fabric and maintain its good qualities. They may look like just a bunch of symbols, but clothes tags are the manufacturer’s way of telling you how to take good care of your clothes.
Tools you’ll need to install your new electric hand dryer:
- A screwdriver or Allen wrench
- A spirit level or laser tool
- An electric drill
- Screw plugs
- A washable pen or pencil
- The user manual that came with your electric hand dryer
You may want to ask someone to help you place and install your new electric hand dryer. We also highly suggest hiring an experienced electrician to complete steps 5, 6 and 7 to ensure the installation is completed safely.
Here is our step-by-step washroom electric hand dryer installation guide that follows the installation process outlined in the electric hand dryer installation video guide:

1. Consider who will use the hand dryer.
Before installing your electric hand dryer, you should consider who will use the bathroom most often. If you’re in a school where children are using the bathroom, for example, consider lowering the hand dryer height slightly so short children can more easily reach it.
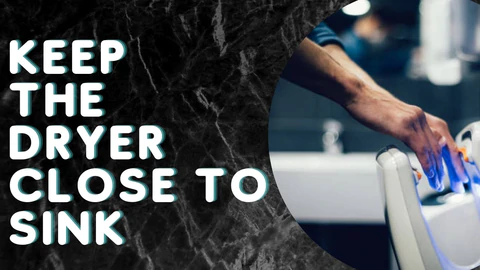
2. Take note of where people will be washing their hands in the bathroom.
Usually, hand dryers are placed near the sink area, so users should only have to walk a few feet to use the hand dryer. Ideally, the electric hand dryer is not in a place that would disrupt traffic flow from people coming in and out of the bathroom, or people moving from the toilets to the sink area.
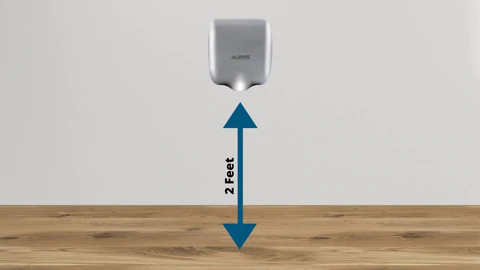
3. Identify a good spot on the wall surface for the new electric hand dryer.
Once you’ve identified the general layout and purpose of your bathroom, consider the potential wall space in the bathroom. Look for a spot where the hand dryer can be positioned high enough off the ground so that the automatic motion sensor isn’t triggered, but not so high that people won’t be able to reach it. Also, be sure the spot you choose is far enough away from water sources so you can safely run electrical wiring to the electric hand dryer without coming in direct contact with moisture.
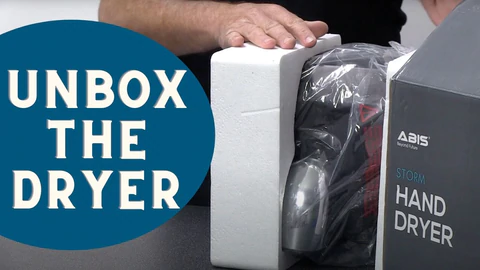
4. Remove the hand dryer from its packaging.
Once you’ve found a good spot to install your electric hand dryer, carefully remove the hand dryer unit from the packaging it was shipped in. Be sure to recycle any packaging you don’t want to save.
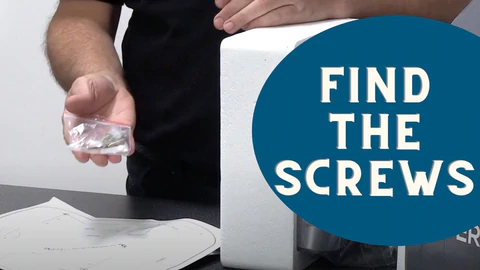
5. Next, remove the screws from the shell of the hand dryer unit.
Sometimes the screws are located on the sides or the bottom of the electric hand dryer unit. There may also be Allen key sockets that need to be removed to release the cover of the hand dryer unit. Refer to the user manual that came with your electric hand dryer if you’re unsure about which screws to remove.
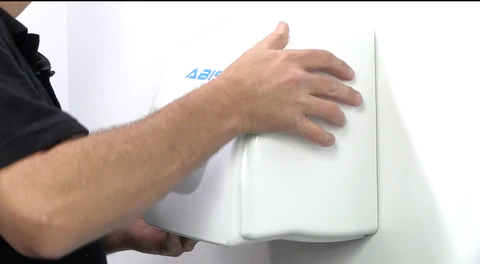
6. Position the new hand dryer on the wall.
You’ll want to ensure that the electric hand dryer is positioned straight on the wall for the best user experience. Any slight tilt to the dryer could affect how well it operates. Use a spirit level or laser tool to identify the straightest position on the wall.
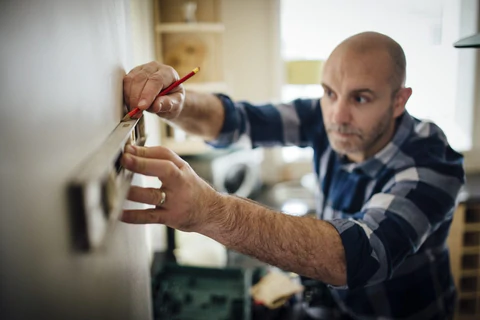
7. Mark the wall for the hand dryer unit.
Use a pen or pencil to lightly draw a straight line across the wall where you’ll want the electric hand dryer to go. Be sure that you are using a pen or pencil that is easily washable so you don’t stain the wall surface.
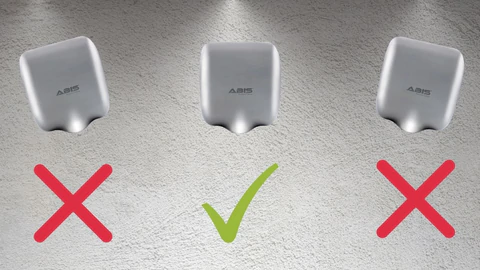
8. Hang the hand dryer on the wall.
Once you have the wall marked with a straight line, ask someone else to help you complete the process by holding the hand dryer unit up to the wall. As they help hold the hand dryer unit up, align the hand dryer unit with the straight line you just drew.
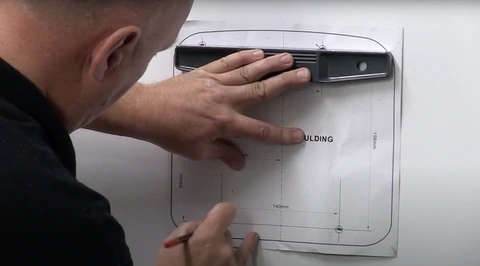
9. Mark the wall for the mounting screws.
Use your pen or pencil to draw dots on the spots of the wall. You’ll want the screws that will hold your hand dryer unit to the wall.

10. Drill the holes.
Next, use an electric drill to insert the screw plugs into the wall where you just drew the dots. The screw plugs will provide extra support for the hand dryer unit.
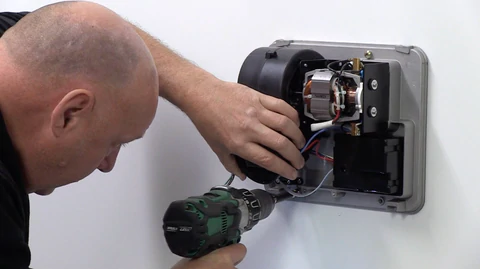
11. Put the hand dryer unit in place over the holes you just drilled for the screw plugs.
Position the hand dryer in line with the dots and use an electric drill to insert the screws to fully secure the hand dryer unit to the wall. Congratulations! You’ve finished the first stage of the installation.
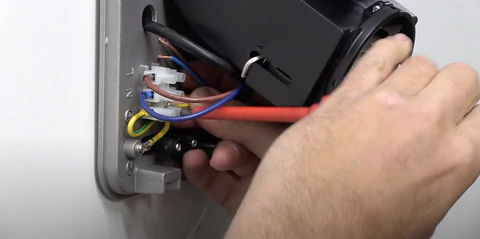
12. Connect the electrical components to power your hand dryer.
Next you’ll want to connect the electrical wiring. This is best done by a qualified electrician, who will access the mains supply using a fuse and finish the project with an unswitched fused spur.
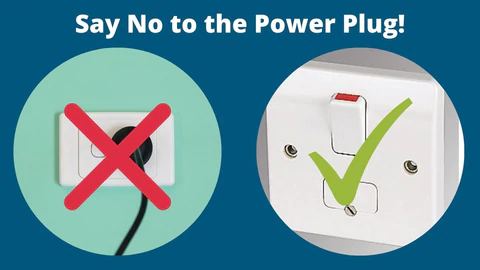
13. A note about pre-built power plugs:
Some hand dryers come with a pre-built power plug, but United Kingdom regulations suggest against using a wall plug in a bathroom unless it can be installed at least 3 meters away from a wash basin or other water source.
- We recommend you completely avoid using a power plug, and have an unswitched fused spur installed with your new hand dryer.
- If the hand dryer has a power plug, cut it out from the top and use the rest of the wiring to feed into the fused spur.
- Do not attempt to install the fused spur under the hand dryer. Instead, find a good spot to install the fused spur, keeping in mind there should be enough space between the hand dryer and the fused spur – also be sure the fused spur is far away from other water sources or toilets. Most electricians use a 300 millimeter to 400 millimeter distance, fitting the fused spur either on the right or left side of the hand dryer.
- Again, this step is best to be left to a trained and qualified electrician with experience installing hand dryers.
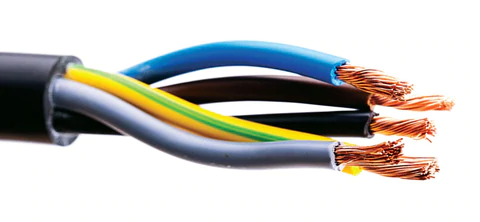
14. You’re almost ready to test the electrical connections.
Your hand dryer installation project is nearly complete! You can power on your fuse from the mains to complete all of your electrical connections.
15. Test the hand dryer.
Be sure to test the hand dryer a few times while the case is open to be sure the sensor and electrical connections are all working correctly.

16. Adjust the sensor settings, if necessary.
Some hand dryers allow you to adjust the sensor distance using the sensor dimmer that is typically located inside the hand dryer unit. You can refer to the manufacturer’s user guide that came with your hand dryer to locate the sensor dimmer and learn more about this feature.

17. Finishing the hand dryer installation process.
Once you are satisfied with the installation, switch the power off from the mains, then put the hand dryer unit back together using the screws that came with the hand dryer unit. Check to be sure that the hand dryer unit is fully secured to the wall with the screws. It should feel snug against the wall and not move around.
18. Power up your new hand dryer.
Now, switch the power back on from the mains and test out your new hand dryer. Congratulations! The hand dryer installation process is now complete.
Be sure to clean the surface of the hand dryer occasionally, wiping it with normal bathroom cleaning products and disinfectants. You’re now ready to enjoy your hand dryer for years to come, and save the planet from unnecessary paper waste!
This full instruction was written considering there are many different brands in the market for hand dryers. ABIS has been specializing in hand dryers for many years starting 2004. If you are looking for a robust and powerful hand dryer for your business, school or public place, we highly recommend you look at one of our hand dryers.

